
Step-by-step guide to house refurbishment in West London
- luka bursac
- Apr 13
- 8 min read

TL;DR:
Proper planning and clear goals prevent overspending and project delays.
Managing trades effectively and choosing qualified professionals ensures a high-quality finish.
Early professional input and thorough management lead to smoother refurbishment outcomes.
Starting a house refurbishment in West London is one of the most exciting decisions you can make as a homeowner. It can also feel genuinely daunting. Without a clear plan, projects routinely overrun their budgets, drag on for months longer than expected, and leave homeowners stressed rather than satisfied. The good news is that most of those problems are entirely preventable. With the right roadmap and the right team behind you, refurbishing your home can be a smooth, rewarding process that adds real value to your property and transforms the way you live in it. This guide walks you through every key stage, from setting your goals to achieving a quality finish.
Table of Contents
Key Takeaways
Point | Details |
Plan with precision | A clear project scope and thorough survey set the groundwork for a successful refurbishment. |
Stage your works | Following the standard order of works prevents costly mistakes and streamlines progress. |
Professional support pays off | Involving experienced specialists early can save time, money, and stress during your house refurbishment. |
Quality checks matter | Regular inspections and stage sign-offs keep workmanship high and deliver lasting results. |
Assessing your renovation goals and requirements
Every successful refurbishment begins long before a single wall is touched. It starts with clarity. Before you speak to a contractor or request a quote, take time to define exactly what you want to achieve. Are you after more living space? Better energy efficiency? A modern kitchen that finally works for your family? Knowing your priorities shapes every decision that follows.
A useful exercise is to split your wish list into two columns: must-haves and nice-to-haves. Must-haves are non-negotiable, whether that is a new bathroom, rewired electrics, or an open-plan ground floor. Nice-to-haves are the extras you will pursue if the budget allows. This simple distinction prevents scope creep, which is one of the leading causes of overspending on refurbishment projects.
West London properties come with their own set of considerations. Many homes in areas like Kensington, Notting Hill, and Chelsea are period properties or sit within conservation areas. Some carry listed building status, which means even internal changes can require consent. Always check with your local planning authority before committing to any structural alterations. The benefits of refurbishment are significant, but only when you start on the right legal footing.
Here is a quick checklist to work through at this stage:
Define your primary goal (space, aesthetics, functionality, value)
List must-have and nice-to-have improvements
Check planning permission requirements for your borough
Confirm whether your property has listed building status
Arrange a professional structural survey
Review your London refurbishment checklist before proceeding
A professional survey is particularly important. It can reveal hidden issues such as damp, subsidence, or outdated wiring that will need addressing before cosmetic work begins. Discovering these mid-project is far more disruptive and costly than finding them upfront.
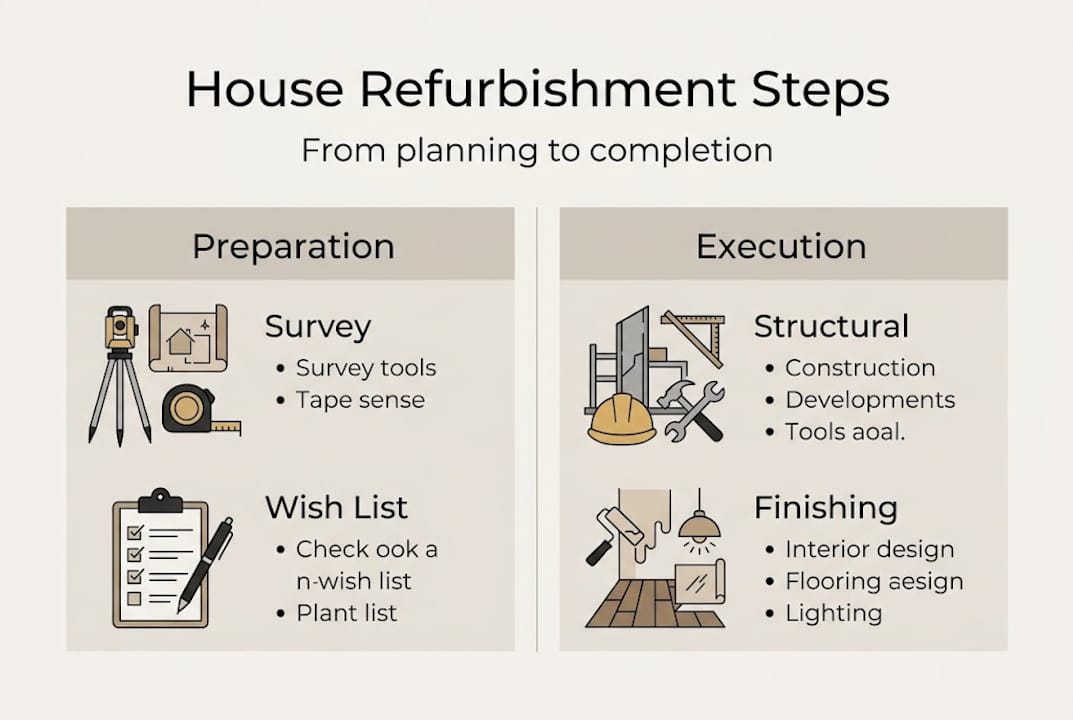
Pro Tip: The standard order of works follows five stages: planning and surveys, strip out and structural works, first fix (plumbing and electrics), second fix (joinery and plastering), and finishes (decorating and flooring). Understanding this sequence from the outset helps you ask better questions and make smarter decisions throughout.
Planning, budgeting and scheduling your refurbishment
With your goals clearly defined, the next step is turning them into a concrete plan with a realistic financial framework. This is where many homeowners underestimate the work involved, and where careful preparation pays dividends.
Start with your budget. A common rule of thumb is to add a 15 to 20 per cent contingency on top of your estimated costs. Unexpected discoveries, such as hidden structural issues or outdated pipework, are common in older West London properties. Without a contingency buffer, a single surprise can derail the entire project.
Breaking your budget down by stage makes it far easier to manage. Here is a simplified overview of typical cost categories aligned to the renovation schedule:
Stage | Typical scope | Budget priority |
Planning and surveys | Architect fees, structural surveys | High |
Strip out and structural | Demolition, underpinning, steelwork | High |
First fix | Plumbing, electrics, heating | High |
Second fix | Joinery, plastering, insulation | Medium |
Finishes | Decorating, flooring, tiling | Medium to high |
Once you have a budget, build your timeline. A structured schedule prevents trades from clashing and ensures each stage is completed before the next begins. Here is a practical approach:
Finalise designs and obtain any required planning permissions
Appoint your main contractor or individual trades
Complete strip out and structural works
Progress through first fix trades (plumbing, electrics, heating)
Move into second fix (joinery, plastering, insulation)
Complete finishes (decorating, flooring, kitchen and bathroom fitting)
For a full refurbishment explained, the timeline from start to finish typically spans several months. Factor in lead times for bespoke materials, specialist trades, and any items requiring planning approval.
Pro Tip: Get every quote in writing and ensure it specifies exactly what is and is not included. Verbal agreements create ambiguity. A clear written scope protects both you and your contractor and makes it far easier to manage changes.
If you are planning a significant project, it is also worth deciding early whether you will remain in the property during works. Living on site can save on rental costs but adds complexity, particularly during noisy or dusty phases. Refer to our West London step-by-step guide for more detail on sequencing and scheduling.
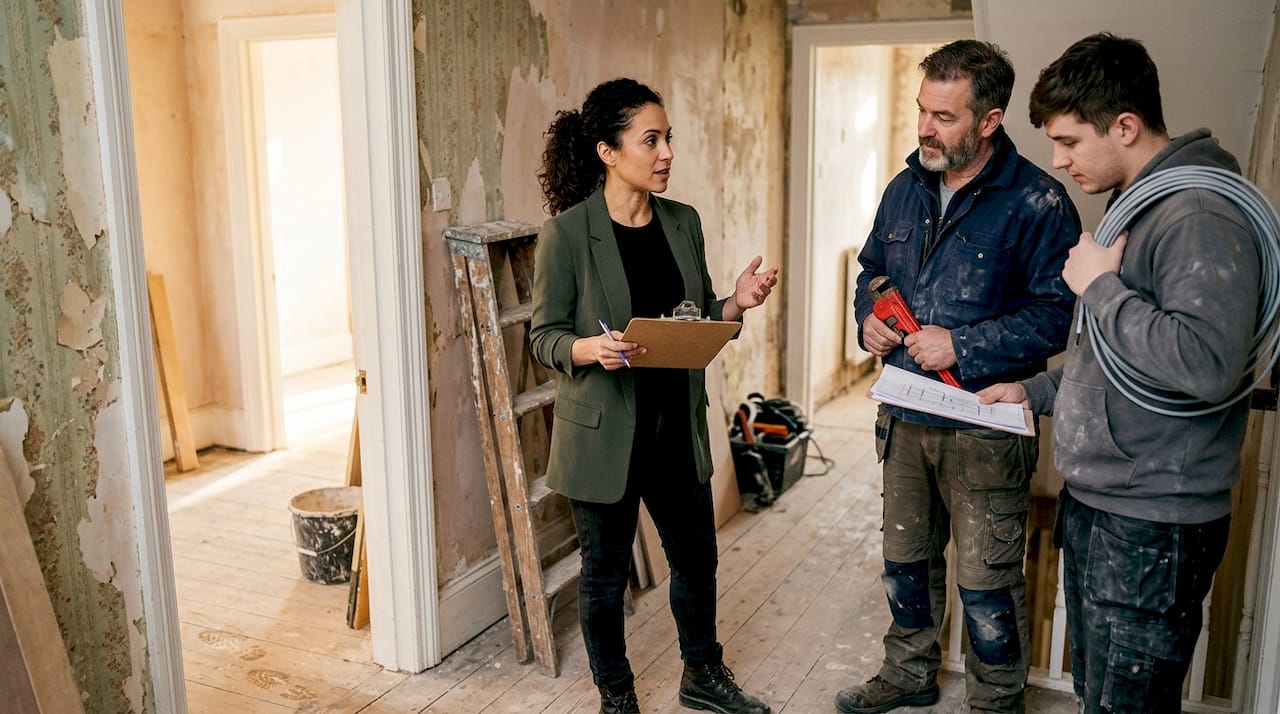
Coordinating trades and managing the refurbishment process
Even the best plan only delivers results when it is executed well. Managing trades effectively is where many homeowners struggle, particularly those attempting to coordinate multiple contractors independently for the first time.
Understanding the role of each trade within the standard workflow is essential. Structural engineers and builders complete the heavy work first. Then first fix trades (plumbers, electricians, heating engineers) run their pipework and cables before walls are closed. Second fix follows once plastering is complete. Finishes come last. Disrupting this sequence causes costly rework.
One of the biggest decisions you will face is whether to manage trades directly or appoint a main contractor. Both approaches have merit:
Approach | Advantages | Considerations |
Direct management | Potentially lower cost | Time-intensive, requires experience |
Main contractor | Single point of contact, coordinated | Higher management fee |
For most homeowners undertaking a full refurbishment, a main contractor offers real value. The value of hiring a specialist lies not just in their skills, but in their ability to keep trades sequenced, materials arriving on time, and problems resolved quickly.
Regular communication is non-negotiable. Set up weekly check-ins with your contractor or site manager. Review progress against the schedule and address issues before they escalate. Delays at first and second fix stages are particularly common, often caused by material lead times or waiting for inspections.
Here are the key actions to keep your project on track:
Confirm each trade’s start and end dates in writing
Ensure all contractors hold relevant certifications (Gas Safe, NICEIC, or equivalent)
Hold weekly progress meetings and document outcomes
Check work at each stage before the next begins
Keep a contingency of time as well as budget
Safety reminder: Always verify that your trades are properly certified before work begins. Gas engineers must be Gas Safe registered. Electricians should hold NICEIC or equivalent accreditation. Never allow unqualified individuals to carry out structural, electrical, or gas work in your home.
Explore ways to transform your property to understand how coordinated management shapes the final result.
Avoiding common pitfalls and ensuring a quality finish
With trades underway, the temptation is to relax and wait for the finished result. In reality, this is the stage that demands the most vigilance. Small issues left unchecked at early stages become expensive problems later.
Following the correct order of works is your first line of defence. Starting finishes before structural works are complete is one of the most common and costly errors on refurbishment projects. It leads to rework, wasted materials, and extended timelines.
Here are the top five mistakes to avoid:
Skipping a professional survey before work begins
Underbudgeting by failing to include a contingency
Paying contractors in full before stages are signed off
Ignoring the order of works and allowing trades to overlap incorrectly
Choosing contractors on price alone rather than experience and references
Stage sign-off is particularly important. Before releasing payment for any phase, inspect the work against the agreed specification. If something is not right, it is far easier to address it before the next trade moves in. Consider interim quality inspections by an independent professional for larger projects.
Statistic: Research from renovation planning experts consistently shows that the majority of project overruns stem from poor upfront planning or inadequate contractor management, not from unexpected structural issues.
Pro Tip: Keep a site diary throughout your project. Photograph key stages, particularly before walls are closed, so you have a permanent record of where pipework and cables run. This information is invaluable for future maintenance and any subsequent works.
A quality finish is not just about aesthetics. It is about boosting home value and ensuring the work stands the test of time. Invest in quality materials for high-use areas, particularly bathroom and kitchen refurbishment, where poor finishes deteriorate quickly.
Expert perspective: what most homeowners overlook in refurbishments
After nearly two decades working on refurbishments across West London, we have noticed a consistent pattern. Homeowners invest enormous energy choosing tiles, worktops, and paint colours, yet give relatively little thought to the planning and sequencing that determines whether the project actually runs smoothly.
The finish is what you see. But the process is what you feel throughout the entire project. A beautifully specified kitchen means very little if the project has overrun by three months, cost 30 per cent more than planned, and left you exhausted.
The real differentiator in any refurbishment is not the materials or even the design. It is the quality of management and coordination behind the scenes. Getting professional input early, before designs are finalised or budgets are set, saves far more money than it costs. Rectification work is expensive. Prevention is not.
Our honest advice: treat the planning phase as seriously as the building phase. A well-structured project managed by an experienced team, as explored in our full-service refurbishment perspective, consistently delivers better outcomes than a rushed start with the cheapest quote. Prioritise process as much as you prioritise the final result.
Take the next step with expert West London refurbishment support
If this guide has helped you think more clearly about your project, you are already ahead of most homeowners who start without a plan. The next step is to speak with a team that understands West London properties inside and out.

At Tenen Ltd, we have been delivering high-quality London property refurbishment services since 2006. From full refurbishments and London loft conversion projects to kitchens, bathrooms, and everything in between, we manage every stage with care and expertise. Browse our full range of services and get in touch to arrange a no-obligation consultation. We would love to help you bring your vision to life.
Frequently asked questions
What is the typical order of works in a house refurbishment?
Most projects follow this five-stage sequence: planning and surveys, strip out and structural works, first fix (plumbing and electrics), second fix (joinery and plastering), and finishes such as decorating and flooring.
How long does a full house refurbishment usually take in West London?
A medium-scale refurbishment typically takes between three and six months, though larger or more complex projects can take longer depending on scope and scheduling requirements.
Do I need planning permission for internal refurbishments in West London?
Many internal works do not require planning permission, but structural alterations, changes to listed buildings, or properties within conservation areas often do require consent from your local authority.
What are the biggest mistakes homeowners make in home refurbishments?
The most common errors are poor upfront planning, setting an insufficient budget without a contingency, and appointing unqualified or unvetted contractors based solely on the lowest price.
What is the advantage of hiring a refurbishment specialist?
A specialist manages the full sequence of trades, reduces the risk of costly errors, and ensures a consistent, professional standard of finish from start to completion.
Recommended
Comments